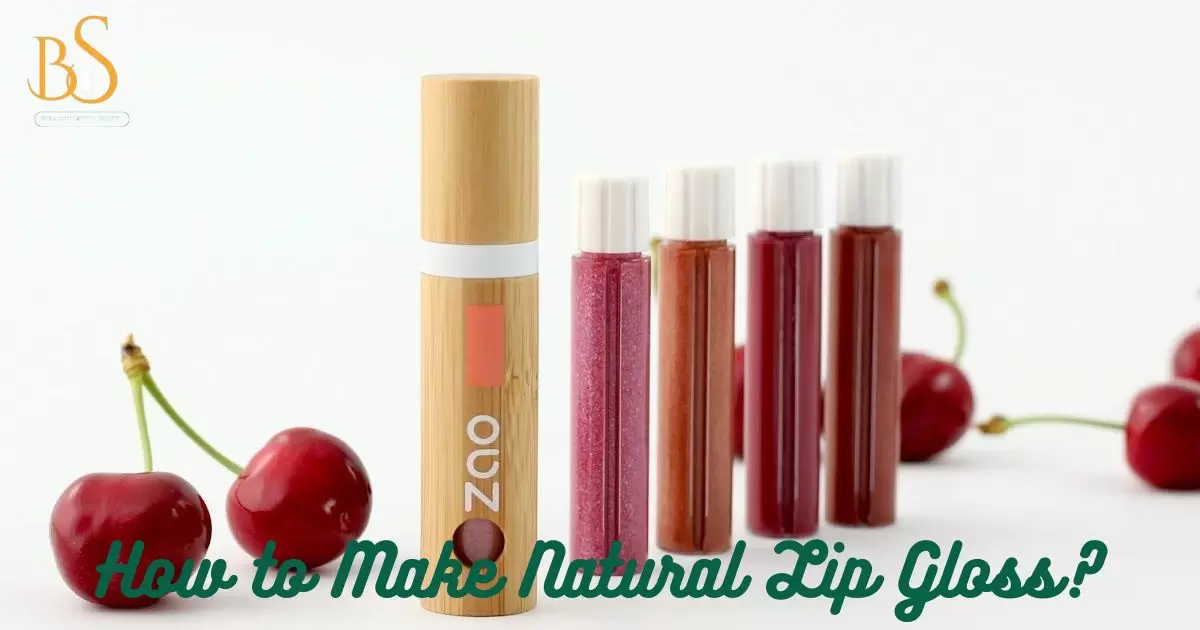
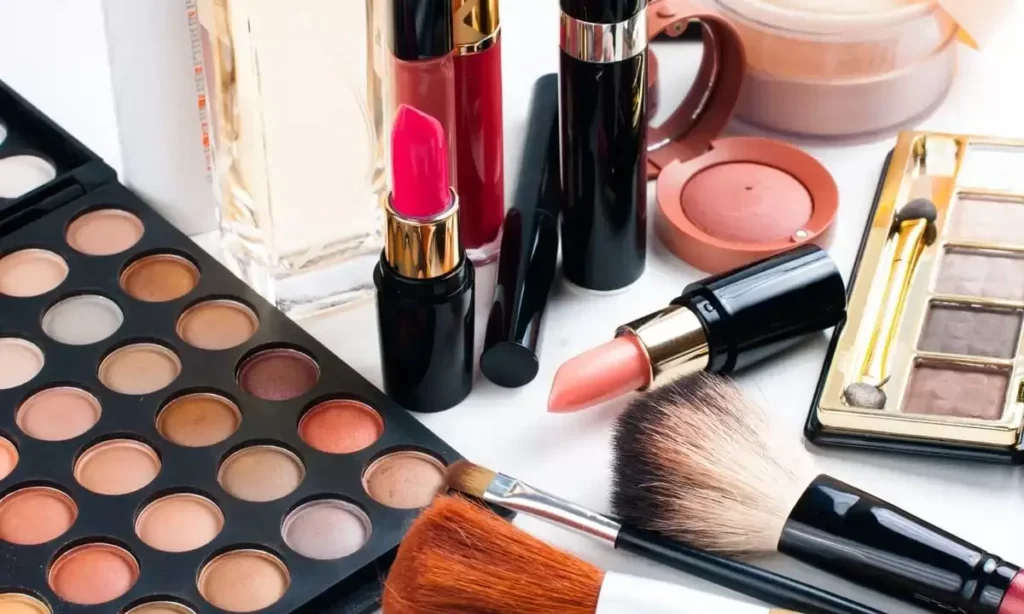
Making your lip gloss at home is an enjoyable way to craft a beauty product tailored precisely to your preferences using only nourishing, non-toxic ingredients. We’ll explore various recipes and techniques for formulating glosses that hydrate and nourish your lips without any risky additives.
Ingredients
There are a few key natural ingredients you will need to make homemade lip gloss:
- Lipid/oil: Provides moisture and shine. Good options include coconut oil, avocado oil or olive oil.
- Humectant: Helps retain moisture. Glycerin and honey work well.
- Emollient: Creates a smoothing effect. Shea butter and cocoa butter are good choices.
- Flavoring/coloring: For taste and aesthetics. Popular choices include natural dyes like beet juice, cherry extract and essential oils.
Homemade Lip Gloss Recipe
Here is a basic recipe to get you started:
Ingredients:
- 1/2 teaspoon coconut oil
- 1/4 teaspoon beeswax (or substitute with shea butter or coconut oil)
- 1/2 teaspoon honey or glycerin
- 5 drops of food coloring or essential oils
Instructions:
- Melt the coconut oil and beeswax together over a double boiler or microwave in 30-second intervals.
- Once fully melted and combined, remove from heat and stir in the honey/glycerin.
- Add coloring/flavoring of choice and stir to incorporate.
- Pour into empty lip gloss containers or lip balm tubs and let set fully before using.
Tips
A few tips for making natural lip gloss:
- Start with small batches until you find the proportions you like. Adjust amounts to your desired consistency.
- Use clean, sterilized containers for storage and application. Glass jars or stainless steel tubes work well.
- Add a preservative like vitamin E if the gloss won’t be used within 1-2 months for shelf stability.
- Experiment with different oils, butter and waxes to suit your climate and lips.
- Flavor with lemon, vanilla, mint or other extract in addition to or instead of color.
- Store in a cool, dark place and apply with a clean finger or lip brush.
Lip Gloss With Essential Oils
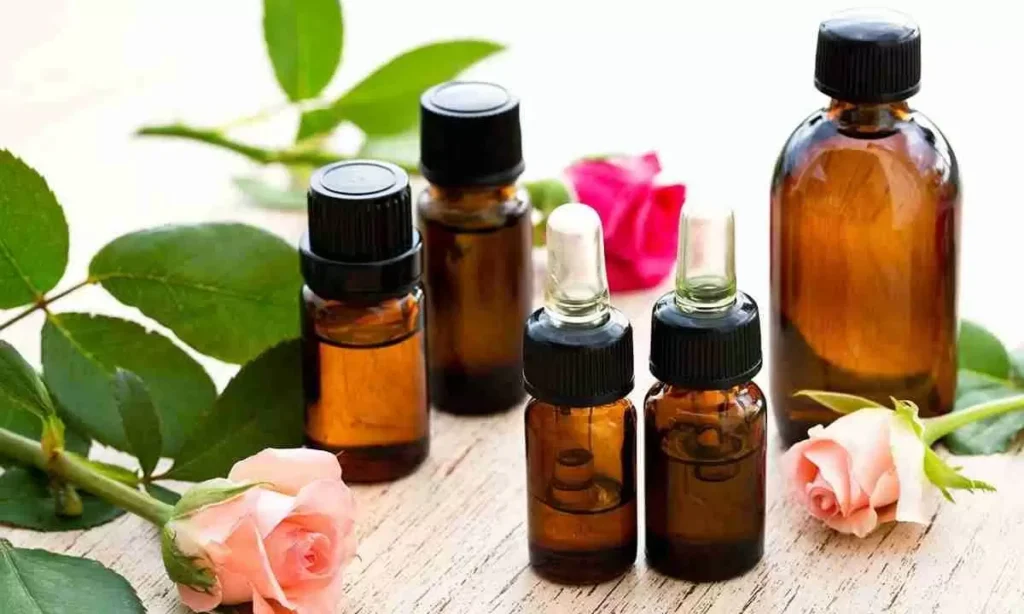
Essential oils can be used to not only impart natural flavor to lip glosses but also provide functional benefits. Some oils that work well include:
| Essential oils | Benefits |
| Peppermint oil | Cooling and refreshing, it provides a tingly sensation. |
| Lavender oil | A calming scent helps reduce stress and anxiety. |
| Tea tree oil | Powerful antimicrobial properties promote the healing of cracks or cold sores. |
| Rose oil | Moisturizing and soothing for dry, chapped lips. 2 drops lend a delicate floral taste. |
| Lemon oil | Brightening and invigorating. The subtle tang from 1 drop per batch wakes up your pout. |
How to Tint Lip Gloss at Home
Natural coloring agents like fruits, vegetables or spices can be used to tint lip glosses without harsh artificial dyes.
Here are some options to experiment with:
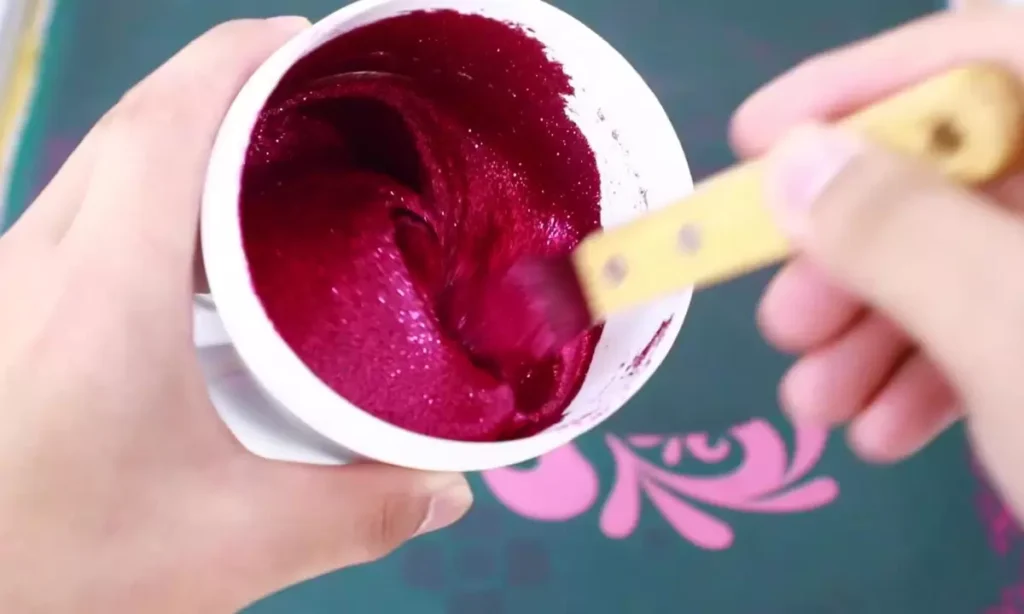
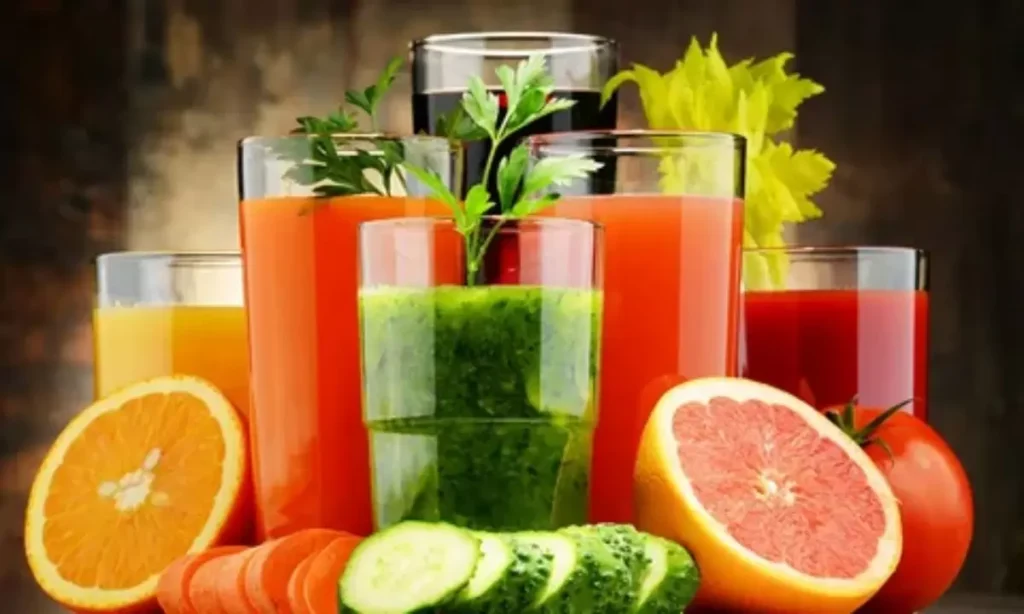
- Beets: One teaspoon of fresh beet juice per batch creates a vibrant berry pink.
- Strawberries: Mashed berries or freeze-dried powder impart a bright coral tone. Use 1-2 teaspoons.
- Cherries: Soak dried cherries in warm coconut oil overnight, then strain for a reddish pink.
- Turmeric: Just 1/4 teaspoon of ground turmeric lends a peachy nude shade.
- Raspberries: Fresh fruit or seedless raspberry jam colors lips rosy fuchsia.
- Carrots: For an orange-leaning pink, blend a teaspoon of fresh carrot juice into the gloss.
- Red cabbage: Finely chop the cabbage and soak it in oil to develop a periwinkle blue color.
Diy Lip Gloss Without Beeswax
For a vegan or bee-allergen-friendly lip gloss, you can substitute beeswax with the following natural ingredients:
- Coconut oil: Provides emollience and sheen without beeswax’s hardness. Melt 1/2 teaspoon into each batch.
- Cocoa butter: Creates a smooth, creamy texture on the lips. Use 1/4 teaspoon per recipe.
- Shea butter: Acts as an occlusive agent to seal in moisture. Melt 1/2 teaspoon into the oil-humectant mixture.
- Rice bran wax: Has a similar high melting point to beeswax for stability. Add 1/4 teaspoon to each batch.
You can also experiment with blending combinations of oils to mimic beeswax’s consistency, such as:
- 1/2 teaspoon coconut oil + 1/4 teaspoon olive oil
- 1/2 teaspoon coconut oil + 1/4 teaspoon avocado oil
- 1/2 teaspoon coconut oil + 1/4 teaspoon mango butter
Without beeswax contributing to the structure, these formulas may be softer and need frequent reapplying. You can also make them into solid sticks by adding extra oil or shea butter.
Best Container For Homemade Lip Gloss
For storing and applying homemade lip glosses, here are some top container options:
- Lip gloss tubes: Easy to find empty tubes online.Requires melting point heat gun to fill.
- Lip balm pots: Inexpensive tins or pots with screw tops keep gloss sanitary.
- Small glass jars: Cute packaging and you can see color/texture. Need lid.
- Stainless steel lipgloss containers: Durable and shiny finish. Twist or flip-top styles.
- Apothecary jars: Vintage aesthetic. Make sure sealed well for moisture retention.
- Makeup pots/lipstick holders: Existing lip product containers given new life.
Choose containers suited to your batch size. Test for leaks by filling halfway with water first.
Steps to Make Lip Gloss
Now that you have your ingredients gathered and container selected, here are the basic steps to make your homemade lip gloss:
- Melt your solid ingredients. Using a double boiler or microwave, melt your oils/waxes/butter together until completely smooth.
- Incorporate liquids. Remove from heat and stir in your humectant(s) like glycerin or honey until uniformly combined.
- Add color and flavor. Stir in a few drops of colorant and 1-2 drops of essential oil flavoring per 1/2 teaspoon of base.
- Cool slightly then transfer. Allow the melted gloss base to cool slightly before carefully pouring or transferring it to tubes/containers.
- Secure lids and let set. Replace tight-fitting lids and let the gloss fully solidify by cooling overnight on the counter or in the fridge.
- Store and apply. Place finished lip glosses in a cool, dry cabinet area. Apply with clean fingertips as needed.
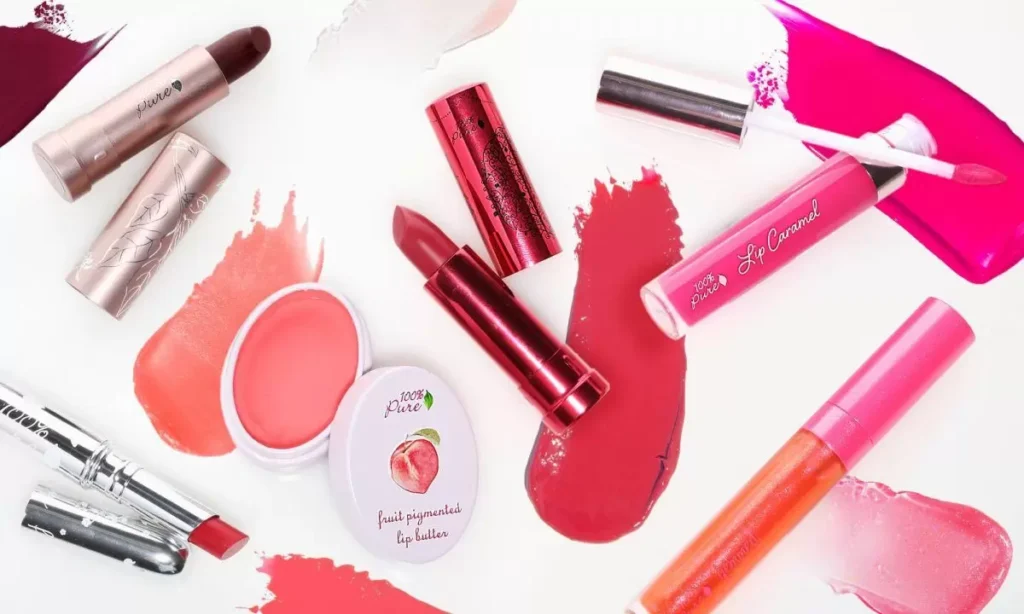
What Is Lip Gloss Made Of?
Traditionally, store-bought lip glosses are made from a combination of:
- Oils like castor oil, coconut oil, or jojoba oil for hydration
- Waxes like beeswax or candelilla wax for thickness and shine
- Emollients like coconut oil or palm kernel oil for a creamy texture
- Humectants like glycerin or sorbitol retain moisture
- Preservatives like methylparaben to prevent bacteria growth
- Pigments and dyes for color
- Flavorings like strawberry or citrus oils
What Materials Do You Need to Make Lip Gloss?
The necessities for preparing homemade lip gloss at home include:
- Lipid oils for moisture
- Wax or butter for structure
- Humectant for hydration
- Flavoring/coloring agents
- Microwave-safe bowls or double-boiler
- Containers for storing gloss
- Clean utensils for mixing
- Optional: Preservatives like vitamin E
Does Lip Gloss Need A Preservative?
When making homemade lip gloss that will be stored and used over time, the addition of a natural preservative can help prolong the shelf life. This prevents bacteria and mold growth during use.
Some good preservative options include:
- Grapefruit seed extract: Powerful antioxidant with antimicrobial properties. Use 5-10 drops per 1/2 cup of gloss.
- Rosemary oleoresin: Derived from rosemary leaf extract. Adds a subtle herbaceous scent. Add 2-5 drops per batch.
- Vitamin E oil: Fat-soluble antioxidant that prevents rancidity. Emulsify 2-5 drops of oil per 1/2 cup gloss.
- Tea tree essential oil: Natural antifungal compound. Start with 1/2 drop and increase to find your effective range.
- Lemon juice: High acidity acts as a mild preservative. Stir in 1/4-1/2 teaspoon fresh juice per batch.
While glosses made with high antioxidant oils like grapeseed or rosehip may not technically need preservatives if consumed within 1-2 months, adding a small amount extends the shelf life safely to 6 months or longer when stored properly.
Take Keypoints
Some key points to remember when making homemade lip gloss:
- Use natural oils, waxes and butter for a non-toxic formula
- Add humectants like glycerin for hydration
- Experiment with essential oils, infusions, or natural colors
- For long-term storage, include a natural preservative
- Fill gloss into sanitized containers or tubes
- Store in a cool, dark place and apply with clean hands
- Adjust recipes and practice different formulations
Frequently Asked Questions
You can make lip gloss using only natural and non-toxic ingredients like oils, butter, waxes, extracts and essential oils.
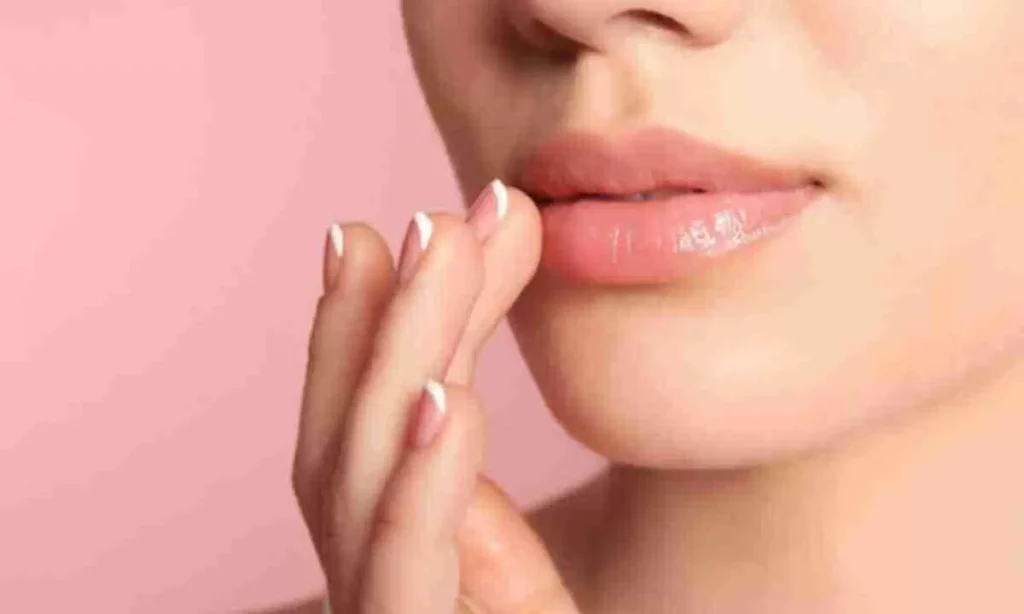
To naturally plump and gloss your lips, gently exfoliate any dry skin first using a toothbrush and coconut oil. Then massage in a balm or oil such as jojoba, rosehip or castor oil to deeply moisturize. Top with a homemade lip gloss in your favorite sheer color and flavor for optimal shine and hydration.
Final Thoughts
Crafting artisanal lip glosses at home is simple, creative and rewarding. Play around with different natural oils, waxes, flavors and colors to develop glosses personalized to your preferences. Keep formulas basic at first, then gradually experiment more.
With a bit of practice, you’ll gain confidence in developing new variations and troubleshooting any issues yourself. Best of all, knowing exactly what’s in each nourishing gloss gives you peace of mind. Enjoy giving homemade versions as thoughtful gifts too.